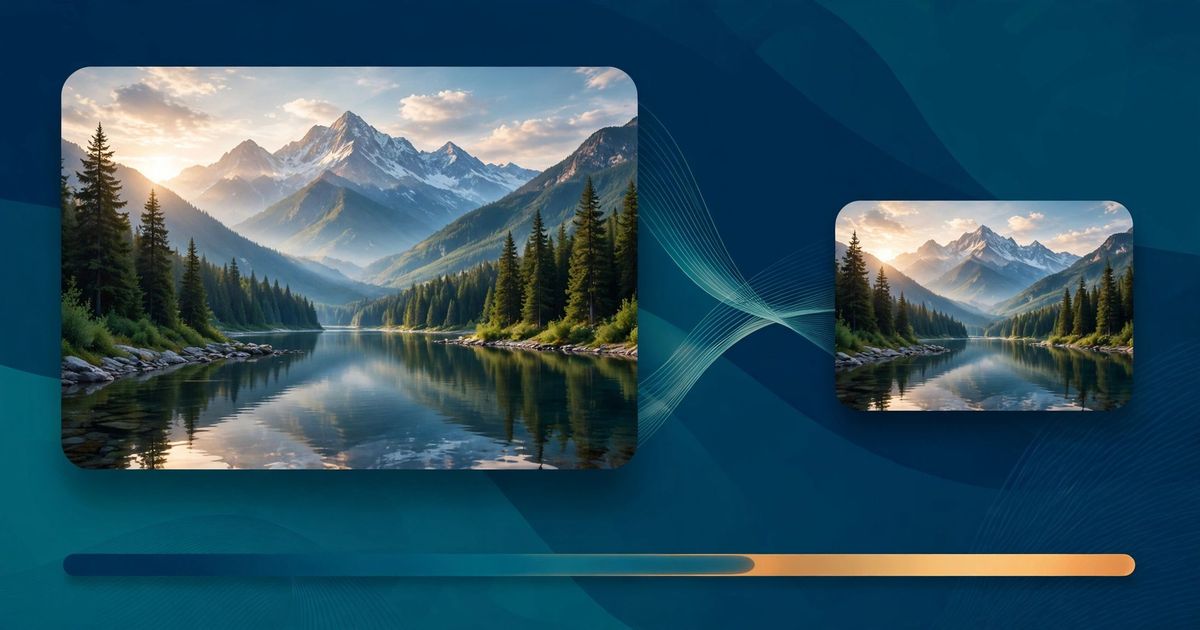
To compress a JPG, lower its quality setting in an image compressor until the file shrinks to the size you need. Most photos look identical at quality 75 to 85 while dropping to a tenth of their original size. A 2 MB camera photo, for example, lands around 150 to 250 KB at quality 80. You do not need photo-editing software: a free browser tool does it in seconds, and resizing the dimensions first makes the savings even bigger.
This guide explains exactly how JPG compression works, which quality settings keep photos looking sharp, and the mistakes that make images blurry or waste your time. You will also see when to resize before compressing, when JPG is the wrong format entirely, and how smaller images speed up your website. The worked examples below use the free FrostRank Image Compressor, but the principles apply to any tool you prefer.
What JPG Compression Actually Does
JPG is a lossy format, which means compression works by throwing away image data your eyes are unlikely to notice. The quality setting controls how much gets discarded: quality 100 keeps almost everything, quality 50 throws away a lot. Somewhere in between, the file shrinks dramatically while the photo still looks the same to a human viewer.
That trade-off is the whole point of the format. A camera or phone saves every subtle colour variation in a scene, far more detail than a screen can show at normal viewing sizes. Compression removes the least visible parts first — smooth gradients, tiny colour shifts in busy areas — and keeps the edges and contrast your eyes actually register.
Two things are worth knowing before you start. First, compression is one-way: once data is discarded, you cannot get it back by saving at higher quality later. Always keep the original file and compress a copy. Second, every save at a lower quality discards more data, so do not open a compressed JPG, edit it, and save it compressed again and again.
How to Compress a JPG in Under a Minute
The fastest way is the free Image Compressor, which runs entirely in your browser — nothing is uploaded to a server. Here is the whole process, start to finish.
- Open the tool and add your JPGs. Drag files onto the page or use the upload button. You can add several images at once: bulk mode compresses the whole batch in one go, which is what you want when a blog post has ten photos.
- Pick a quality setting or a target size. Start at quality 80. If you need a specific file size — for example, a 100 KB limit on an upload form — switch to target-size mode, type in 100 KB, and the tool picks the quality that hits it.
- Compare before and after. Check the new file size next to the original, and look at the preview at full zoom. Pay attention to faces, text in the image, and sharp edges — those are where over-compression shows first.
- Download the result. Save the compressed files and use them in place of the originals. Keep the originals somewhere safe in case you need a higher-quality version later.
Here is a typical result. A 2 MB photo straight from a phone, compressed at quality 80, usually lands around 150 to 250 KB — roughly a tenth of the original size. A 5 MB photo from a DSLR often drops below 500 KB at the same setting.
These are typical figures, not guarantees: a photo of a plain blue sky compresses far better than a photo of a forest full of leaves, because busy detail is harder to discard invisibly.
Target-size mode is the feature to reach for when a platform sets the limit for you. Upload forms, job portals, and some content systems reject files over a set size — 100 KB is a common one. Instead of guessing quality numbers and re-exporting, type the target and let the tool work out the quality that fits.
Finding the Right Quality Setting
For most photos on the web, the sweet spot is quality 60 to 85. Below 60, blocky artefacts start appearing in smooth areas like skies and skin. Above 85, the file size climbs fast while the visible improvement is tiny. Quality 80 is a sensible default, and you can adjust from there based on what the image is for.
| Use case | Quality to try first | Why |
|---|---|---|
| Blog and article photos | 75–80 | Viewed at moderate size; small artefacts invisible |
| Hero and banner images | 80–85 | Large on screen, so quality matters more |
| Thumbnails and avatars | 60–70 | Tiny display size hides almost everything |
| Photography portfolio | 85–90 | Visitors zoom in; quality is the product |
| Background textures | 60–70 | Usually behind text or overlays anyway |
The reliable way to pick a number is to test it on your own image. Compress at 80, open the result at full size, and look at the edges and any text. If it looks clean, try 70 and compare again. When you spot the first faint artefacts, go back up five points. Two minutes of testing beats any generic chart, because your photo's detail level decides everything.
Judge quality at the size people will actually see the image. A photo that looks rough at 200% zoom can look perfect at its real display size — zooming further only finds problems nobody will notice.
Resize Dimensions Before You Compress
Dimensions matter more than the quality slider. A 4,000-pixel-wide photo displayed at 800 pixels wide is five times wider than anyone will see, and compression alone cannot fix that waste. Shrinking the dimensions first is usually the biggest single saving you will make.
Match the width to where the image will appear. Blog content images rarely need to be wider than 1,200 pixels. Thumbnails and avatars are fine at 300 to 600 pixels. A full-width hero image might need 1,600 to 2,000 pixels on a large screen, but almost nothing on a normal website needs 4,000.
Always resize first, then compress. Resizing after compression wastes effort: you spend time squeezing detail out of pixels that are about to be thrown away anyway. Worse, compressing and then resizing can soften edges in a way that neither step alone would. The order is simple — right size first, right quality second.
Phone photos deserve special attention. Modern phones save large multi-megapixel images by default, often around 4,000 pixels wide, though the photo will be shown at a fraction of that size. Resizing to 1,200 pixels wide first often cuts the file to a tenth of its original size.
JPG vs PNG vs WebP — When to Use Each
JPG is the right format for photographs and any image with smooth colour gradients. It is the wrong format for screenshots, logos, and anything with sharp text or flat colours, where its compression smears edges. That is the job PNG was built for.
| Format | Best for | Transparency | Typical file size |
|---|---|---|---|
| JPG | Photos, complex images | No | Small |
| PNG | Screenshots, logos, text, icons | Yes | Large |
| WebP | Photos and graphics (modern browsers) | Yes | Smaller than JPG or PNG |
WebP is the modern alternative worth knowing about. It compresses photos smaller than JPG at the same visible quality, and it handles transparency like PNG, so it can replace both in most cases. All modern browsers support it now, and the Image Compressor can convert JPG and PNG to WebP. The only reason to stay with JPG is compatibility with older systems that do not accept WebP yet.
For a fuller reference on which format fits which job, MDN's guide to image format types covers every common format with its strengths and limits. Google's own guide to compressing images is also worth reading: it explains the same trade-offs from the page-speed side, including why responsive images and modern formats matter.
One related job is embedding an image directly into HTML or CSS instead of linking a file. That uses Base64, and the same size rules apply — only more so, because Base64 encoding makes a file about a third bigger. Compress the image first, then convert it with a free image to Base64 tool. If you want the background, the guide to Base64 encoding explains how the encoding works and where it makes sense.
When NOT to Compress a JPG
Compression is not always the right move. If a JPG is already small — say under 50 to 100 KB — squeezing it further saves almost nothing and risks visible damage. Check the file size first; if it is already light, leave it alone.
Never compress the only copy of an image you plan to edit again. Every lossy save discards data, and editing a compressed file and saving it again compounds the loss. Keep the original at full quality, do your edits on that, and compress only the final export that goes on the website.
Do not use JPG for text-heavy screenshots, diagrams, or logos. The format blurs sharp edges, so text turns fuzzy and flat colours get blotchy. PNG is the right choice there, even though the file is bigger — a blurry screenshot helps nobody. The same goes for images with transparency: JPG cannot do transparency at all, so a logo with a transparent background must be PNG or WebP.
Finally, if an image will not display after you embed or upload it, the problem is usually not compression. A common cause is a broken or oversized Base64 string, or a file that was corrupted during conversion. If that sounds familiar, the walkthrough for a Base64 image not showing covers the six most common causes and their fixes.
What Compression Does to Your Page Speed
Images are usually the heaviest part of a web page. On a typical article page, photos account for more than half of the total weight, so cutting image sizes in half often cuts the page weight by a third or more. That shows up directly in load time, especially on mobile connections.
The effect is biggest on the largest image on the page. Google's Largest Contentful Paint metric measures when the main content becomes visible, and on many pages that content is a hero image. Compressing that one image is often the single fastest page-speed win available — faster than any code change, and it takes about a minute.
Compression is one item on a longer list, though. If you want the full picture — caching, lazy loading, responsive image sizes, and the rest — work through the free page speed checklist after you have your images under control. It covers the checks in order, so you fix the big wins first.
Don't Forget Your OG and Social Images
Social previews have their own image rules, and they are easy to get wrong. Facebook, X, and LinkedIn all want an OG image of 1200 by 630 pixels, and most platforms reject or crop anything much larger than 8 MB. A 5 MB camera photo uploaded as an OG image is a common reason previews look broken or fail entirely.
Compress your OG image to well under that limit — a few hundred KB is plenty at 1200 by 630 — while keeping the exact dimensions. Resize first, compress second, same as any other image. Then check the preview with the platform's own debugger before you publish, because a cached broken preview can stick around for days.
If your previews are already misbehaving, the problem may be the tags rather than the image. The guide to fixing open graph tags walks through the five-minute check: the tag names, the image URL, and the size limits, in the order that finds the fault fastest.
Frequently Asked Questions
How much can I compress a JPG without losing quality?
Most photos compress to about a tenth of their original size at quality 75 to 80 with no visible loss at normal viewing size. A 2 MB phone photo typically lands around 150 to 250 KB. Busy, detailed photos compress less than simple ones, so the exact result depends on the image.
What quality setting should I use for JPGs?
Quality 80 is a good default for photos on the web, and 60 to 85 is the sweet spot for most uses. Go lower, around 60 to 70, for thumbnails and backgrounds. Go higher, 85 to 90, for photography portfolios or any image visitors will zoom into.
How do I compress a JPG to 100 KB?
Use a compressor with a target-size mode: upload the JPG, type 100 KB as the target, and the tool picks the quality setting that hits it. The FrostRank Image Compressor has this mode built in. If the image is very large or very detailed, resize its dimensions first — that makes the 100 KB target much easier to reach.
Is JPG or WebP better?
WebP is better in most cases: it produces smaller files than JPG at the same visible quality, and it supports transparency. JPG is still the safer choice when you need maximum compatibility with older systems that do not accept WebP. For new websites, WebP is the better default.
Does compressing JPGs improve page speed?
Yes. Images are usually the heaviest part of a page, so smaller images mean faster loads — especially on mobile. Compressing the largest image on the page, often the hero image, is usually the single fastest page-speed win available.
Can I compress JPGs without uploading them anywhere?
Yes. The FrostRank Image Compressor runs entirely in your browser, so your images never leave your device. The same applies to Squoosh, Google's browser-based image optimizer. For private or sensitive photos, a tool that works locally is the right choice.
Compressing JPGs is one of those rare jobs that is both easy and genuinely useful: a minute of work, a tenth of the file size, and a faster page for every visitor. Pick quality 80, resize first, keep your originals — and let the tool do the rest.